Apache Airflow by Airbnb has been around for a while, and though newer scheduling engines are available nowadays, it is still popular among data engineers and being used in many companies such as AT&T, Robinhood and Slack. Airflow and its stateful components are not cloud native out of the box, but thankfully last November AWS introduced Amazon Managed Workflows for Apache Airflow, AKA MWAA, eliminating the pain of managing a self hosted Airflow.
Part 1 - Creating the MWAA Env
Creating Network Infra:
We are about to deploy the MWAA env and a few related AWS resources. what will you need?
- 2 new subnets for the managed runners. Preferably, associate the subnets with a private route table
- A security group to assign to the env, allowing ingress communication among the subnets cidrs, and egress to the outer world:
# Replace with you values:
locals {
  vpc_id = "vpc-xxxxx"
  subnets_cidrs = ["x.x.x.x/x","x.x.x.x/x"]
  private_route_table_id = "rtb-xxxxx"
}

# Resources:
data "aws_availability_zones" "available" {
  state = "available"
}

resource "aws_subnet" "mwaa_subnets" {
  count             = length(local.subnets_cidrs)
  vpc_id            = local.vpc_id
  cidr_block        = local.subnets_cidrs[count.index]
  availability_zone = data.aws_availability_zones.available.names[count.index]
  tags              =  { Name = "mwaa_sn_${count.index}" }
}

resource "aws_route_table_association" "mwaa_subnets_assoc" {
  count          = length(local.subnets_cidrs)
  subnet_id      = aws_subnet.mwaa_subnets[count.index].id
  route_table_id = local.private_route_table_id
}

resource "aws_security_group" "mwaa_sg" {
  name_prefix = "mwaa_sg"
  vpc_id      = local.vpc_id
  ingress {
    from_port   = 0
    to_port     = 0
    protocol    = "-1"
    cidr_blocks = local.subnets_cidrs

  }
  egress {
    from_port   = 0
    to_port     = 0
    protocol    = "-1"
    cidr_blocks = ["0.0.0.0/0"]
  }
}
Creating an S3 bucket for the DAGs
resource "aws_s3_bucket" "mwaa_source_bucket" {
  bucket = "my-mwaa-source"
  acl    = "private"
  versioning {
    enabled    = "true"
  }
}
resource "aws_s3_bucket_public_access_block" "mwaa_bucket_public_access_block" {
  bucket              = aws_s3_bucket.mwaa_source_bucket.id
  block_public_acls   = true
  block_public_policy = true
}
for this first try you can upload some example DAGs from this repo:
git clone https://github.com/Efrat19/mwaa_source_example
aws s3 cp mwaa_source_example s3://my-mwaa-source/mwaa_source_example --recursive --exclude "*.git/*"
Creating IAM Resources
Now we need the execution role with its policy, lets create it:
locals {
  region = "xx-xxxx-x"
  account_id = "xxxxxxxxxx"
}

resource "aws_iam_role" "mwaa_role" {
  assume_role_policy = <<POLICY
{
    "Version": "2012-10-17",
    "Statement": [
      {
        "Effect": "Allow",
        "Principal": {
            "Service": ["airflow.amazonaws.com","airflow-env.amazonaws.com"]
        },
        "Action": "sts:AssumeRole"
      }
   ]
}
POLICY

  managed_policy_arns = [
    aws_iam_policy.amazon_mwaa_policy.arn,
  ]
  max_session_duration = "3600"
  name                 = "airflow-mwaa-role"
  path                 = "/"
}
resource "aws_iam_policy" "amazon_mwaa_policy" {
  name   = "AmazonMWAAPolicy"
  path   = "/"
  policy = <<POLICY
{
    "Version": "2012-10-17",
    "Statement": [
        {
            "Effect": "Allow",
            "Action": "airflow:PublishMetrics",
            "Resource": "arn:aws:airflow:${local.region}:${local.account_id}:environment/*"
        },
        {
            "Effect": "Deny",
            "Action": "s3:ListAllMyBuckets",
            "Resource": [
                "arn:aws:s3:::${aws_s3_bucket.mwaa_source_bucket.id}",
                "arn:aws:s3:::${aws_s3_bucket.mwaa_source_bucket.id}/*"
            ]
        },
        {
            "Effect": "Allow",
            "Action": [
                "s3:GetObject*",
                "s3:GetBucket*",
                "s3:List*"
            ],
            "Resource": [
                "arn:aws:s3:::${aws_s3_bucket.mwaa_source_bucket.id}",
                "arn:aws:s3:::${aws_s3_bucket.mwaa_source_bucket.id}/*"
            ]
        },
        {
            "Effect": "Allow",
            "Action": [
                "logs:*"
            ],
            "Resource": [
                "arn:aws:logs:${local.region}:${local.account_id}:log-group:airflow-*"
            ]
        },
        {
            "Effect": "Allow",
            "Action": [
                "logs:DescribeLogGroups"
            ],
            "Resource": [
                "*"
            ]
        },
        {
            "Effect": "Allow",
            "Action": [
                "s3:GetAccountPublicAccessBlock"
            ],
            "Resource": [
                "*"
            ]
        },
        {
            "Effect": "Allow",
            "Action": "cloudwatch:*",
            "Resource": "*"
        },
        {
            "Effect": "Allow",
            "Action": [
                "sqs:ChangeMessageVisibility",
                "sqs:DeleteMessage",
                "sqs:GetQueueAttributes",
                "sqs:GetQueueUrl",
                "sqs:ReceiveMessage",
                "sqs:SendMessage"
            ],
            "Resource": "arn:aws:sqs:${local.region}:*:airflow-celery-*"
        },
        {
            "Effect": "Allow",
            "Action": [
                "kms:Decrypt",
                "kms:DescribeKey",
                "kms:GenerateDataKey*",
                "kms:Encrypt"
            ],
            "NotResource": "arn:aws:kms:${local.region}:${local.account_id}:key/*",
            "Condition": {
                "StringLike": {
                    "kms:ViaService": [
                        "sqs.${local.region}.amazonaws.com",
                        "s3.${local.region}.amazonaws.com"
                    ]
                }
            }
        }
    ]
}
POLICY
}
Final Step - Creating the MWAA Env
resource "aws_mwaa_environment" "mwaa" {
  name                          = "my-mwaa-env"
  airflow_version               ="2.0.2"
  execution_role_arn            = aws_iam_role.mwaa_role.arn
  airflow_configuration_options = {
    "core.default_task_retries"                 = 3
    "webserver.default_ui_timezone"             = "Asia/Jerusalem"
    "celery.sync_parallelism"                   = 1
  }
  source_bucket_arn              = aws_s3_bucket.mwaa_source_bucket.arn
  dag_s3_path                    = "mwaa_source_example/dags"
  requirements_s3_path           = "mwaa_source_example/requirements.txt"
  network_configuration {
    security_group_ids = concat([aws_security_group.mwaa_sg.id], "other_security_groups_can_be_added_here")
    subnet_ids         = aws_subnet.mwaa_subnets[*].id
  }

  logging_configuration {
    dag_processing_logs {
      enabled   = true
      log_level = "INFO"
    }
    scheduler_logs {
      enabled   = true
      log_level = "INFO"
    }
    task_logs {
      enabled   = true
      log_level = "INFO"
    }
    webserver_logs {
      enabled   = true
      log_level = "INFO"
    }
    worker_logs {
      enabled   = true
      log_level = "INFO"
    }
  }
}
# For fine tuning, you will find many more configuration options here https://registry.terraform.io/providers/hashicorp/aws/latest/docs/resources/mwaa_environment
Complete TF source can be found here
All Done!
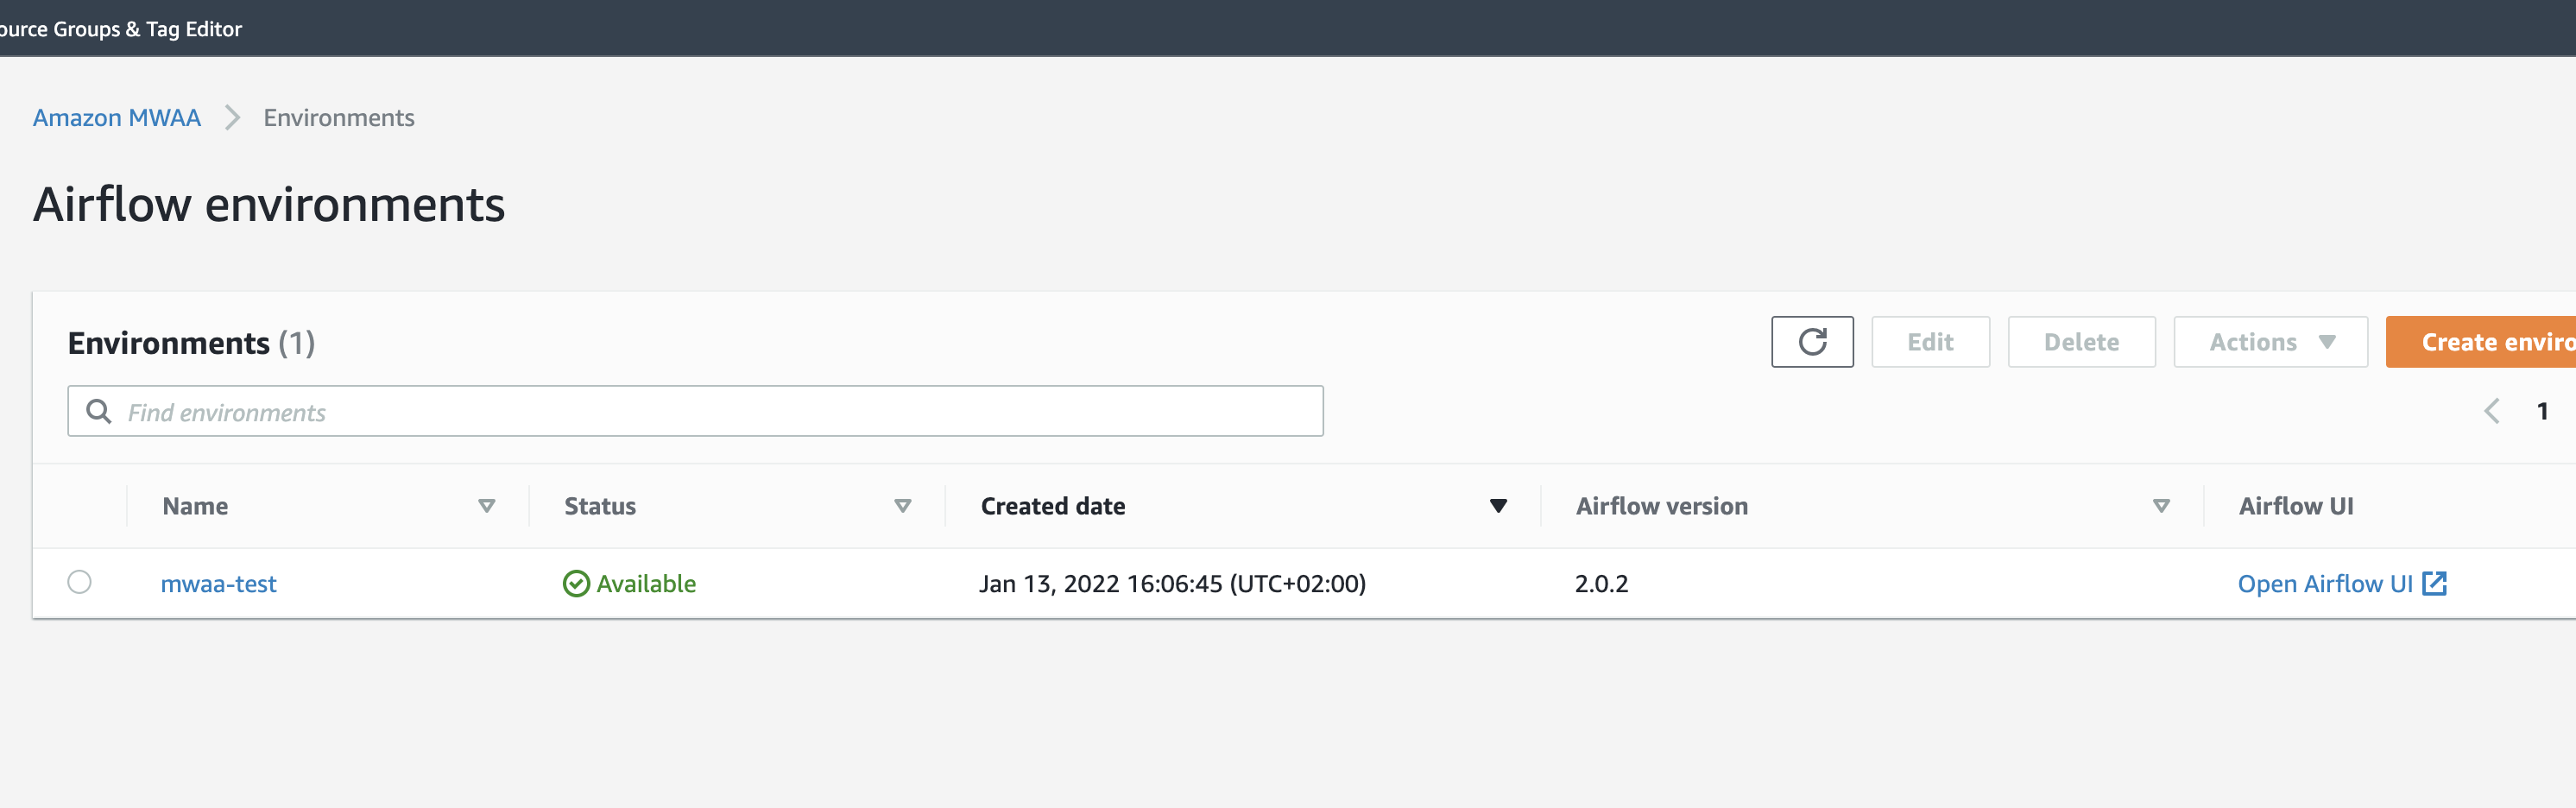
Once you plan and apply all the resources (it takes a few minutes to deploy the environment), head to Managed Apache Airflow service in AWS console, you will see your env there
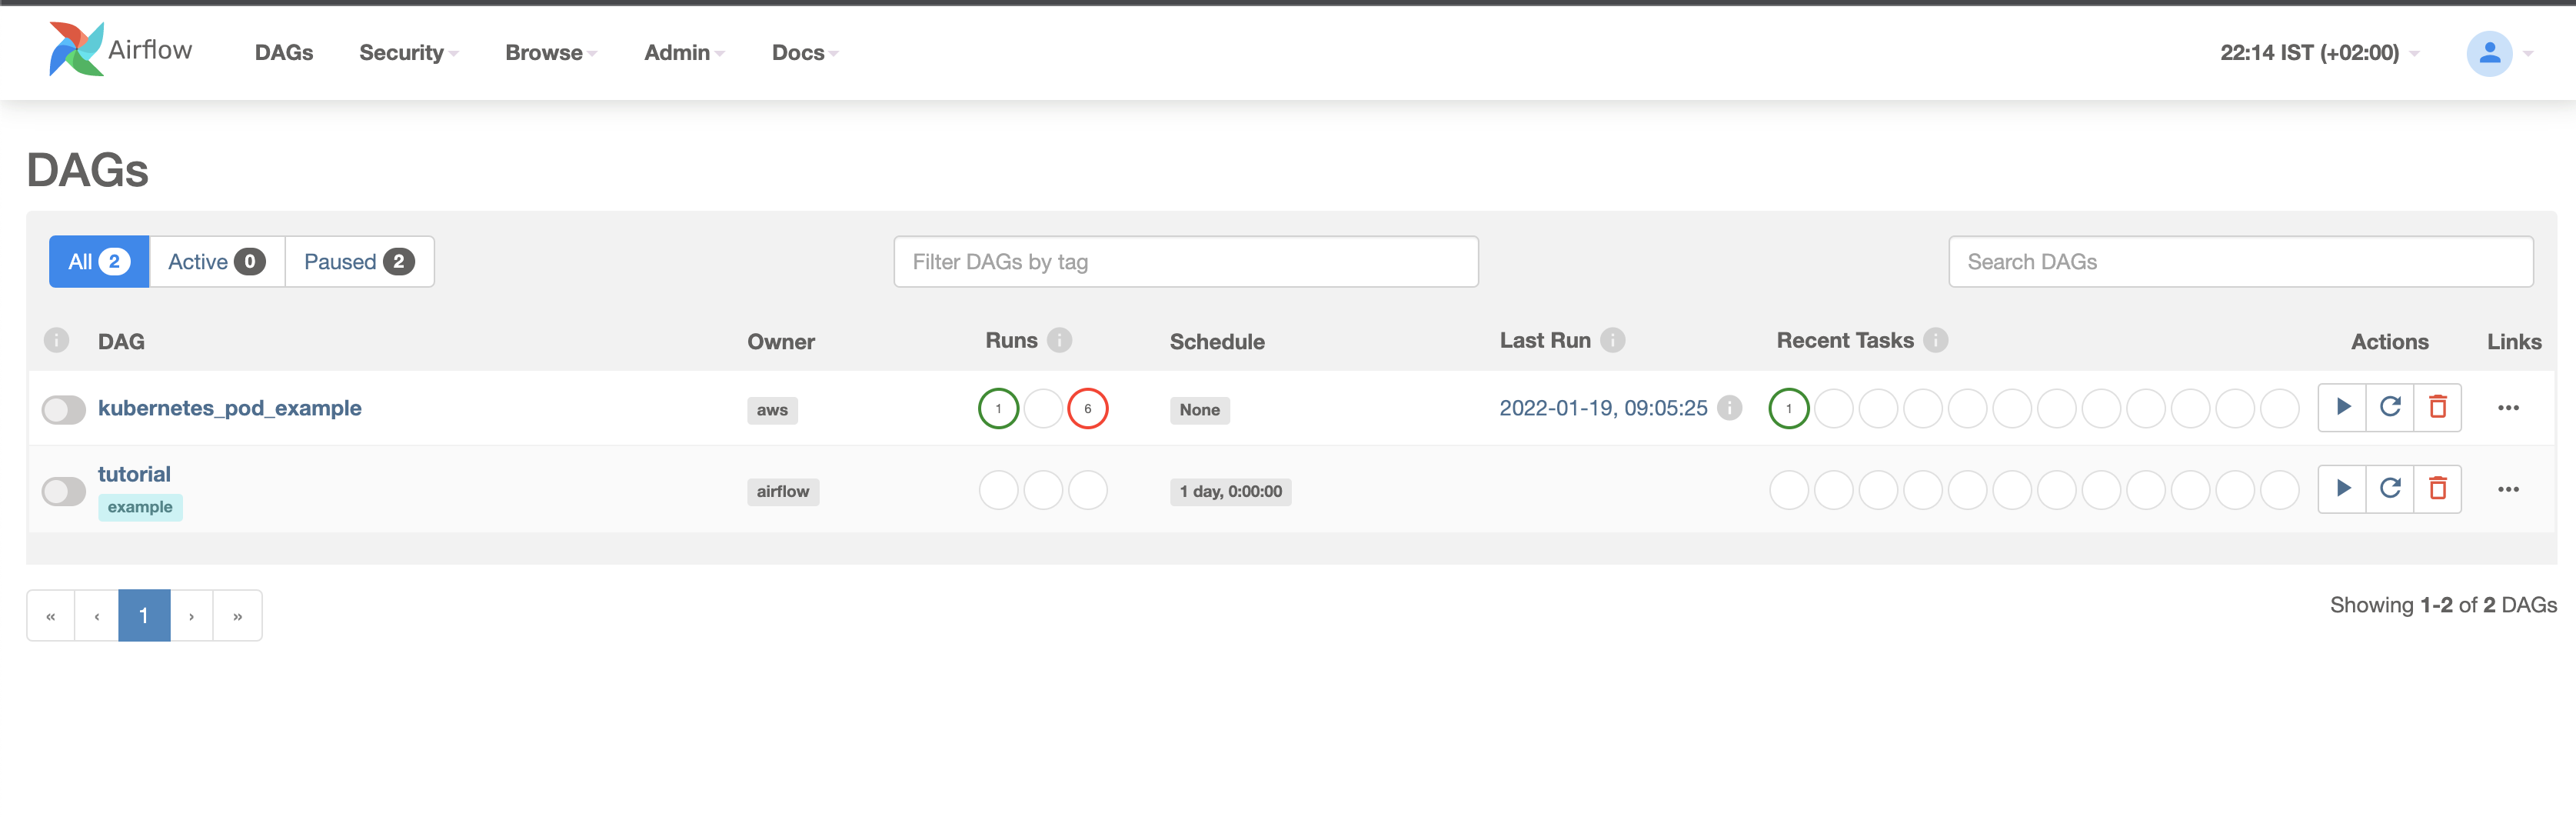
click the open Airflow UI link to get to Ariflow console, you will see the dags there:
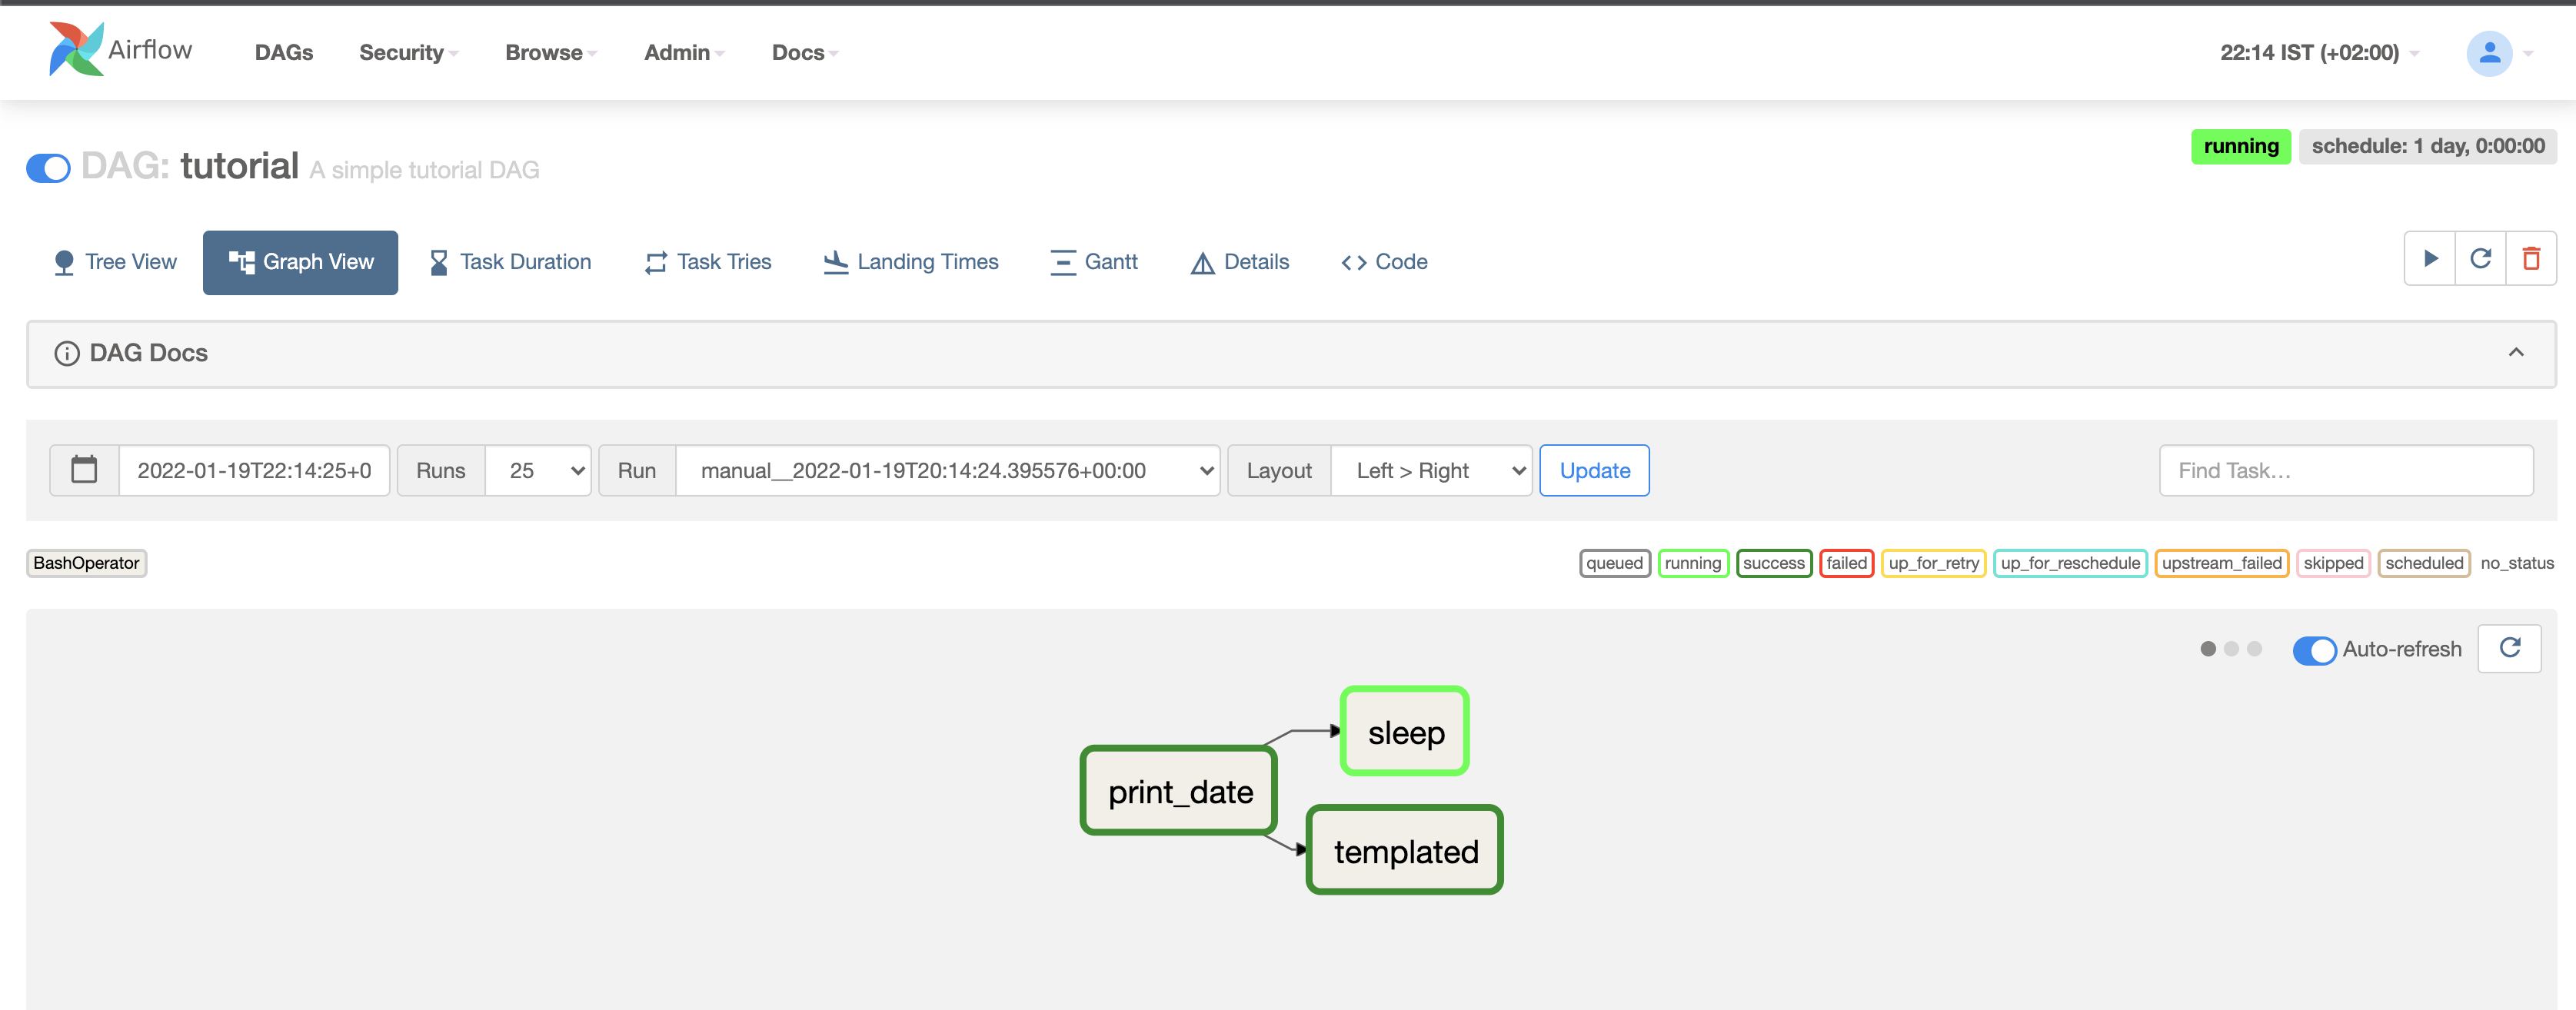
Good job! you are ready to move to the next part - adding EKS scheduling